Course contents
Your workbench
Before writing code you need Python installed and a place to run it, and this chapter walks through setting up a free, beginner-friendly environment and running a first snippet, so the tools never become the obstacle.
- Install Python and set up a notebook or editor using free tools
- Run a line of code and see its output
- Explain what a notebook is and why it suits learning and data work
The most common reason beginners give up on coding is not the coding itself. It is the setup: an hour of confusing installation, an error nobody explained, and the will to continue quietly drains away. So this chapter gets the workbench out of the way plainly, using free tools, and ends by confirming it works. Do this once and you need never think about it again.
The two things you need
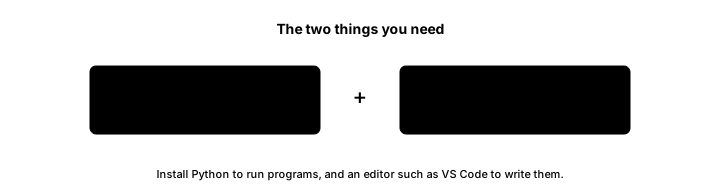
To write and run Python you need two things. The first is Python itself, the language, installed on your computer, which you can download for free from the official Python website. The second is a place to write and run your code, and here a beginner has a choice worth understanding.
You can write code in a plain text editor and run it, which works but shows you little as you go. Far friendlier for learning and for data work is a notebook. A notebook is a document made of cells, where you type a little code in a cell, run just that cell, and see its output appear directly underneath, then move to the next cell. You build up a program in small, visible steps, with results and even charts shown inline, which is exactly how you want to explore data. The widely used open-source notebook is called Jupyter, and you can run a notebook either on your own computer after installing it, or in a free notebook service in your web browser with nothing to install at all.
Either path is fine. The browser-based route removes the install step entirely and is the quickest way to start, while installing on your own machine gives you more control for later. Pick whichever gets you to a running cell soonest.
Confirm it works
Whatever you chose, confirm the setup before moving on, by running the simplest possible program. Type this into a cell or a file and run it.
# If this runs and prints the lines below, your Python setup works.
print("Python is working!")
print(2 + 2)Python is working! 4
If you see the two lines of output, the message and the number 4, then Python is installed, your environment runs code, and you are ready for the rest of the course. If you see an error instead, that too is useful, because getting setup errors out of the way now, when the code is this simple, is far easier than untangling them later.
Do not over-tune the workbench
One piece of advice saves beginners a surprising amount of lost time: do not fall into perfecting your environment before you have written any real code. There is an endless world of editors, settings, and tools, and it is tempting to tidy the workbench forever instead of using it. A plain, free, working setup is entirely enough to complete this whole course, and you can always upgrade your tools later once you know what you actually need. The goal of this chapter is simply a cell that runs. Once you have that, the workbench has done its job.
What to carry forward
Your workbench is two things: Python installed from its official site, and a place to run code, ideally a notebook such as Jupyter, on your machine or free in a browser, where you run small cells and see each output inline. You confirmed it works by running a one-line program, and you resisted the trap of endlessly tuning the tools instead of using them.
With a cell that runs, you are ready to write your first real program. The next chapter does exactly that, and starts teaching you to read the errors that every programmer meets daily.